Please Download Using the Links Below:

Download as a Microsoft Word Document:
Download as a .pdf:
4,491 total views, 1 views today

Please Download Using the Links Below:
Download as a Microsoft Word Document:
Download as a .pdf:
4,491 total views, 1 views today
Please Download Using The Links Below:
Download as a Microsoft Word Document:
Download as a .pdf:
3,716 total views, 1 views today
Please Download Using The Links Below:
Download as a Microsoft Word Document:
Download as a .pdf:
3,648 total views, 1 views today
We are currently working on finding new and fun DIY projects for the visitors of Sandyhookherbarium.org
DIYs, or Do it yourself projects, are simple projects you can do on your own with little expense. We hope you enjoy our DIYs that are to come!
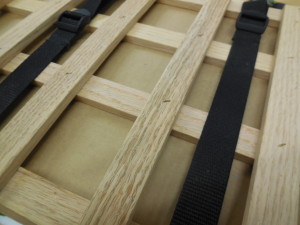
Make Your Own Plant Press! (Note: image is not of the DIY final product but of our professional plant press)
Currently we have the following DIY:
(Click the Image to Access)
3,824 total views, no views today
At the Sandy Hook Interactive Herbarium we use our plant press in order to preserve our beautiful plant specimen. Although our plant press is more professional, making a miniature plant press is fun and easy! Here we have provided you with the information needed to construct your own miniature plant press that you can use whenever you spot a pretty plant you’d like to preserve!
You will need:
Part 1: Making the actual Plant Press
Part 2: Preparing the Paper for Pressing
Part 3: Making the Straps
Part 4: Using the Plant Press
Note: Pieces like cardboard can be reused once dry.
This Do-It-Yourself project has been inspired and influenced by the “Pocket Flower Press” article on Instructables, found at the following link: http://www.instructables.com/id/Pocket-Flower-Press/
4,520 total views, no views today
Our first children’s packet, All About Herbaria, focuses on the basics of a herbarium and what the team here at the Sandy Hook Interactive Herbarium does. The packet includes the following items:
If you would like to use or view this children’s packet please click the link below:
Note: Clicking the link above will begin an automatic download of the All About Herbaria file in a Microsoft Word document. If you would prefer to download as a .pdf please click here: All About Herbaria!
5,490 total views, 1 views today
The Sandy Hook Interactive Herbarium understands the importance of education. Many young students have little knowledge about herbaria, and so the Sandy Hook Interactive Herbarium team has decided to include fun new ways of learning about herbaria so that young audiences may begin to gain interest in our work and in the significance of plant species.
Currently our lesson plan focus is on a series of children’s packets. These packets are a series of printable worksheets oriented towards young children that can be completed either in a classroom setting or alone.
Click an image below to access its respective children’s packet!
Children’s Packet 1: All About Herbaria!
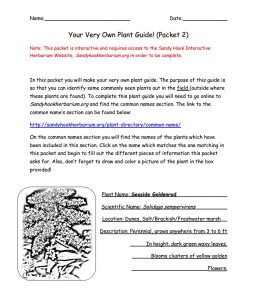
Children’s Packet 2: Your Very Own Plant Guide!
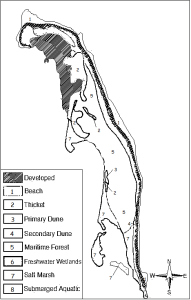
Children’s Packet 3: The Zones of Sandy Hook
3,991 total views, 1 views today
If you’re looking for interesting coloring pages then you’ve come to the right place! Our coloring pages include information about the Sandy Hook Interactive Herbarium, the processes within the herbarium, as well as information about the wonderful plant species on Sandy Hook, New Jersey. Color the beautiful plants while you learn about them! Below you will find individual links to each page. Click on the coloring page to start your coloring journey!

10. American Field Pansy Botanical Illustration
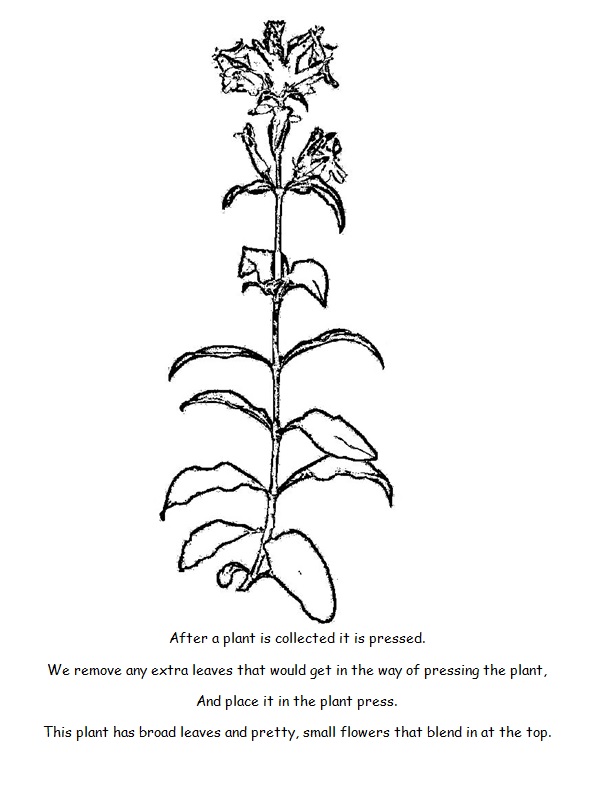
1. Pressing a Plant
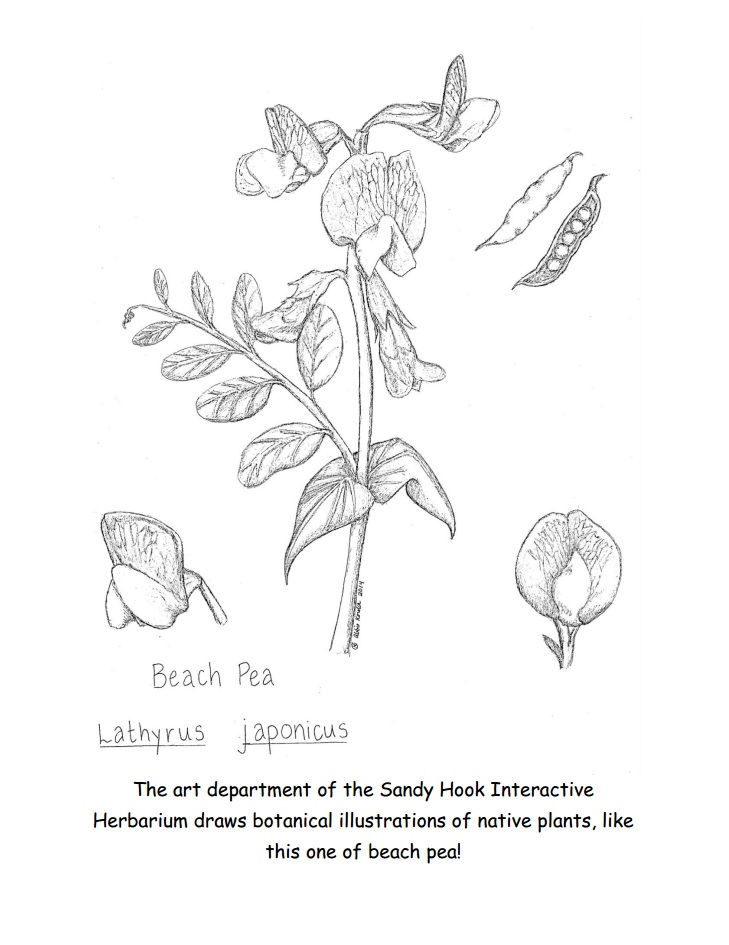
8. Beach Pea Botanical Illustrations

7. Plant Press
6. The Sandy Hook Lighthouse
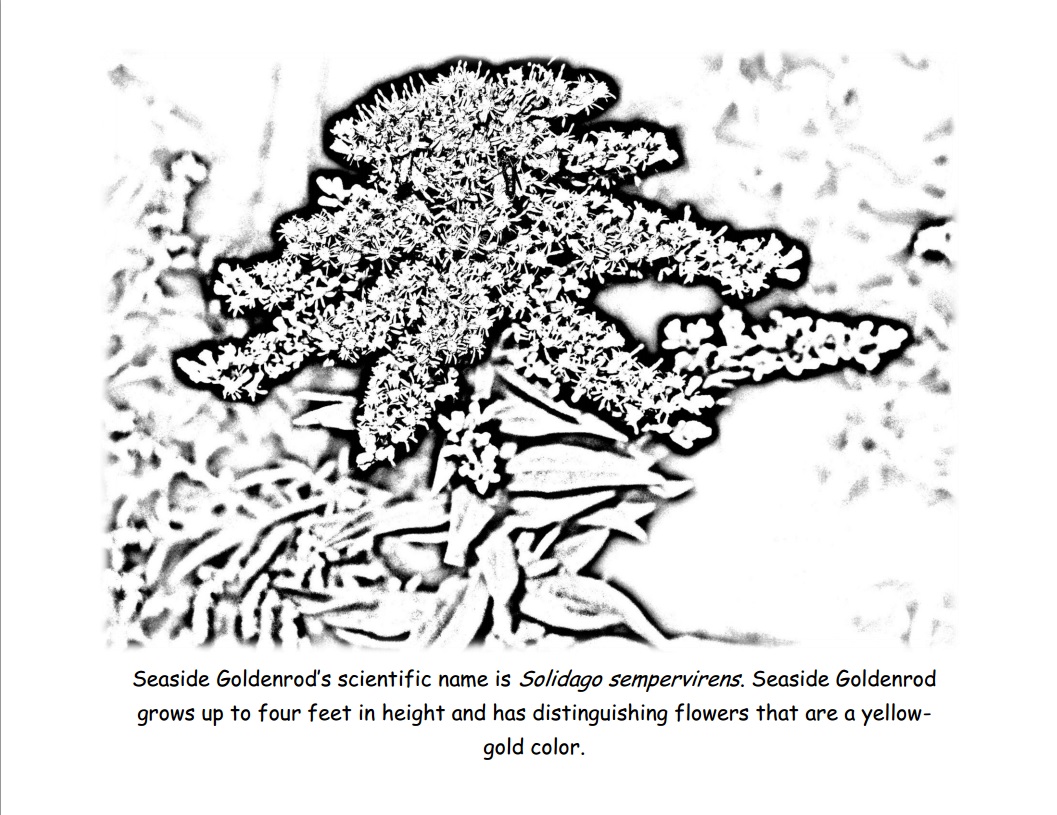
4. Seaside Goldnrod
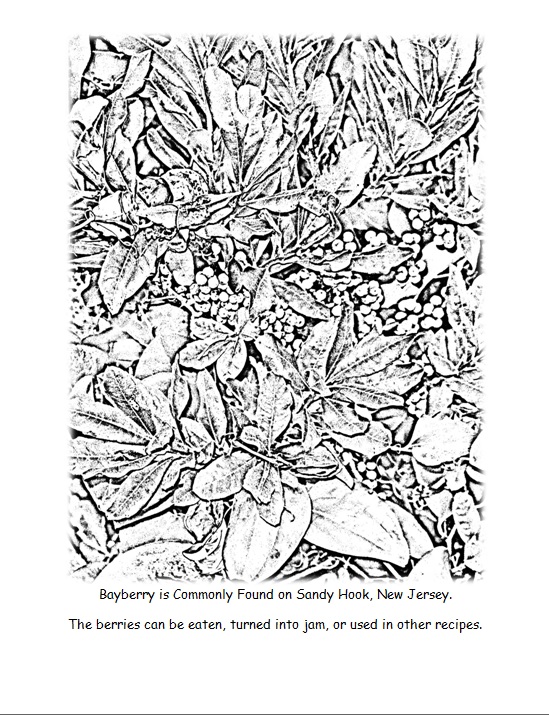
3. Bayberry
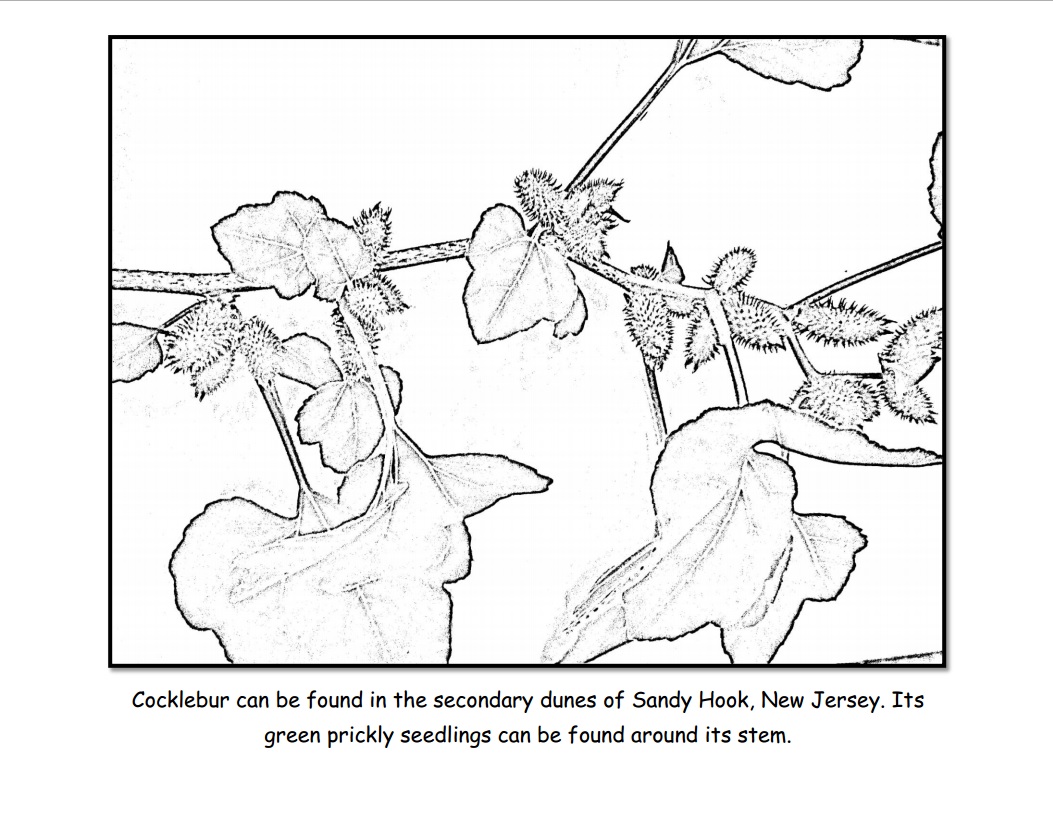
5. Cocklebur
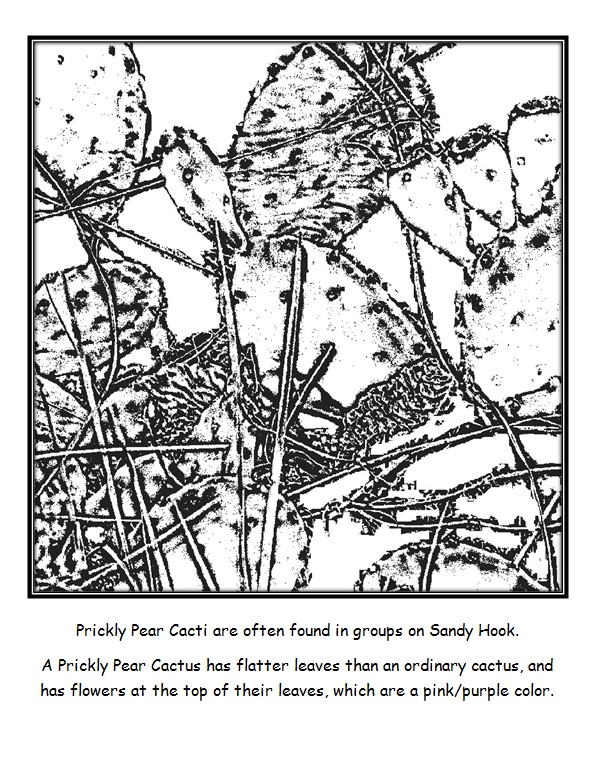
2. Prickly Pear Cactus
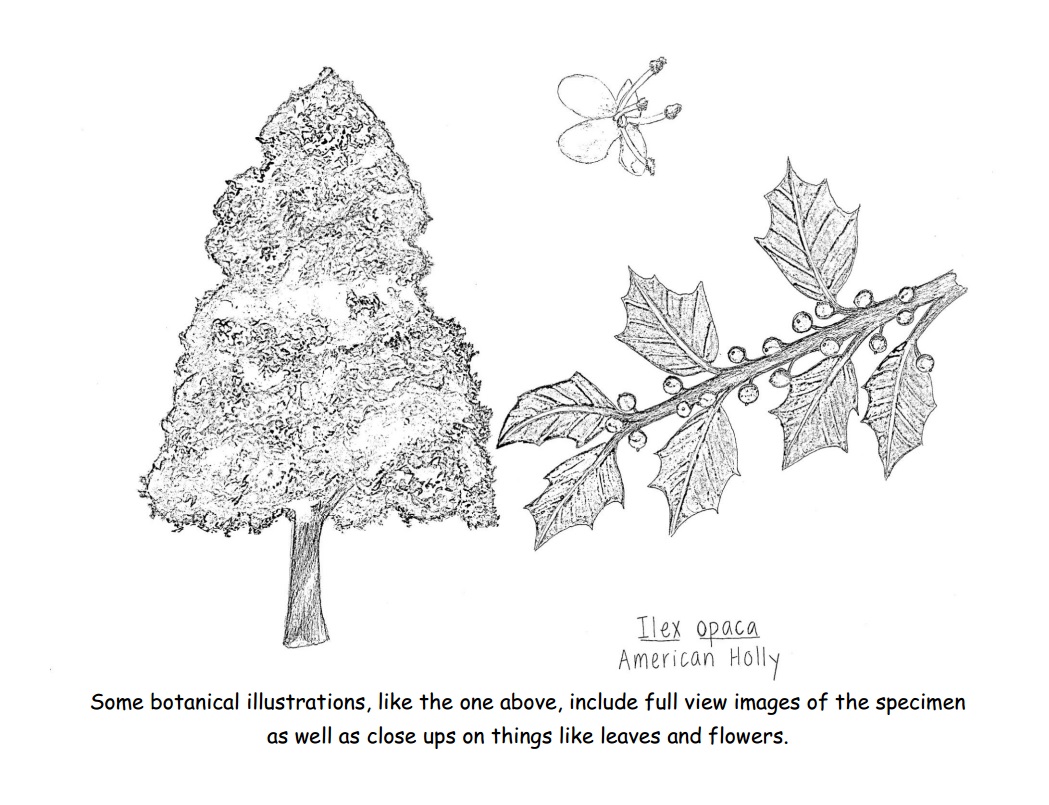
8. American Holly Botanical Illustration
5,050 total views, no views today
Please Download Using The Links Below:
Download as a Microsoft Word Document:
Download as a .pdf:
7,666 total views, 1 views today
Please Download Using The Links Below:
Download as a Microsoft Word Document:
Download as a .pdf:
3,787 total views, no views today